your iPad POS Experts
Kido Technologies Pte Ltd
Started in 2004 by NTU CE classmates. We have since come a long way. Kidotech has prided itself in providing practical and well-designed IT solutions that allow our clients to focus on their core business. We have worked with regional MNCs in customising their web and mobile based ERP solutions. In 2011, we brought the iPad POS to the F&B and Retail markets in Singapore. Kidotech is your premier iPad POS experts with more than 100s of clients in Singapore and in the region (Dubai, Malaysia, Brunei, Indonesia)
See Our Point of Sale Systems Below Our Customised Solutions
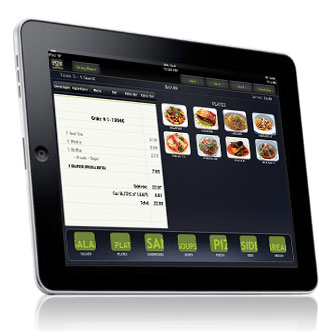
Cloud iPad POS for F&B
Our Cloud POS is the most popular iPad POS for F&B markets in Singapore. Flexible to run in single over-the-counter quick serve style or multiple table-sider ordering for full Chinese restaurants. This POS will do it all! This is the POS that will grow with your F&B business.
Enterprise Cloud iPad POS
Our Enterprise iPad point of sale is highly customizable to your individual business needs, and that includes the POS features you need to maximize your business’s earning potential. Cloud-based and secure, enterprise iPad POS is also feature-rich, allowing you to tailor our point of sale solution to your particular business. From running 20 outlets to even 100 outlets, this is the POS platform that is for you.
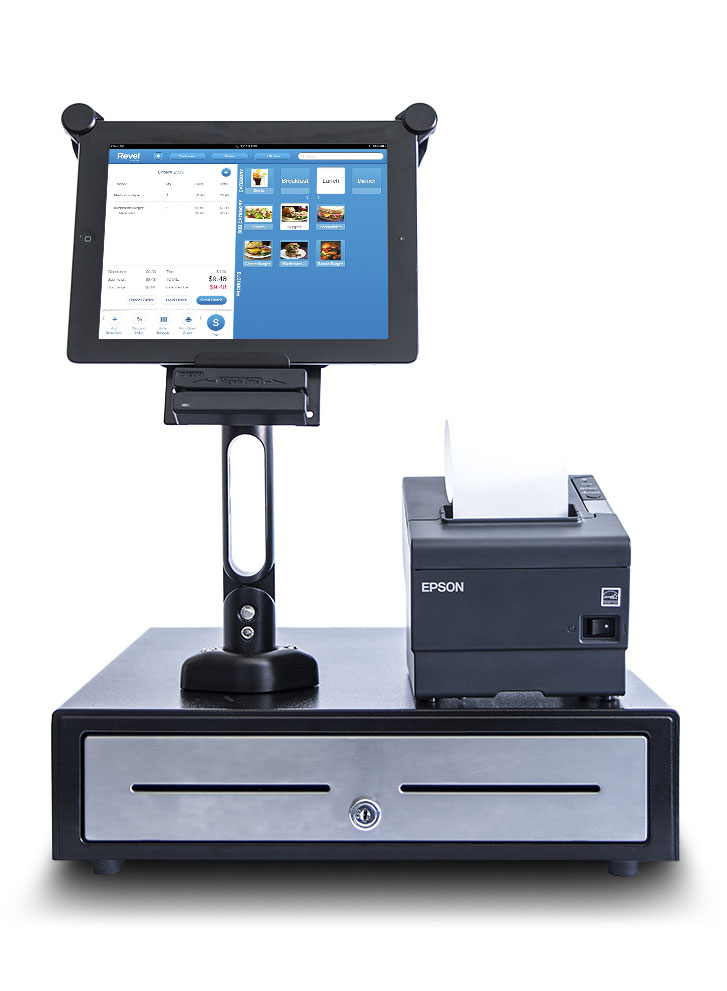
Cloud Retail POS
Used by more than 10,000 retailers worldwide, this is your complete Retail POS that runs on the cloud, integrates with online stores and makes the most efficient use of your limited retail space. It is ready to run on an iPad, bluetooth barcode scanner and thermal printer. Need it portable? Pair your cellular iPad with a bluetooth scanner and printer. You are the perfect retail POS on-the-move or for your Kiosk/ Pop-up store!
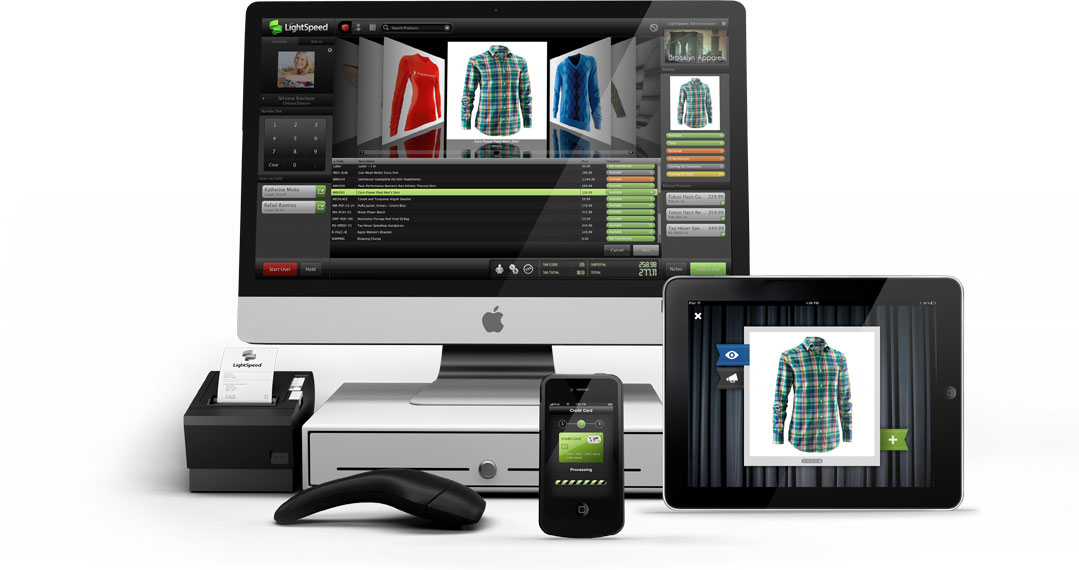
Mac & iPad Retail POS
Our Complete Retail Solution offers a powerful range of sales workflows in a complete retail solution for iGeneration retailers. Experience innovative front-counter POS and back-office management on Mac, interactive selling on iPad and Mobile, tightly-integrated eCommerce, and scalable server technology that is multi-user, multi-store, and extensible via a developer API. Experience retail enlightenment.
Our Recent Blog Posts
always something new!

Kido Technologies, iPad POS experts, is partnering with Bitcoin POS payment processor Coin Of Sale to bring seamless Bitcoin payments to iPad POS systems they distribute in Singapore....

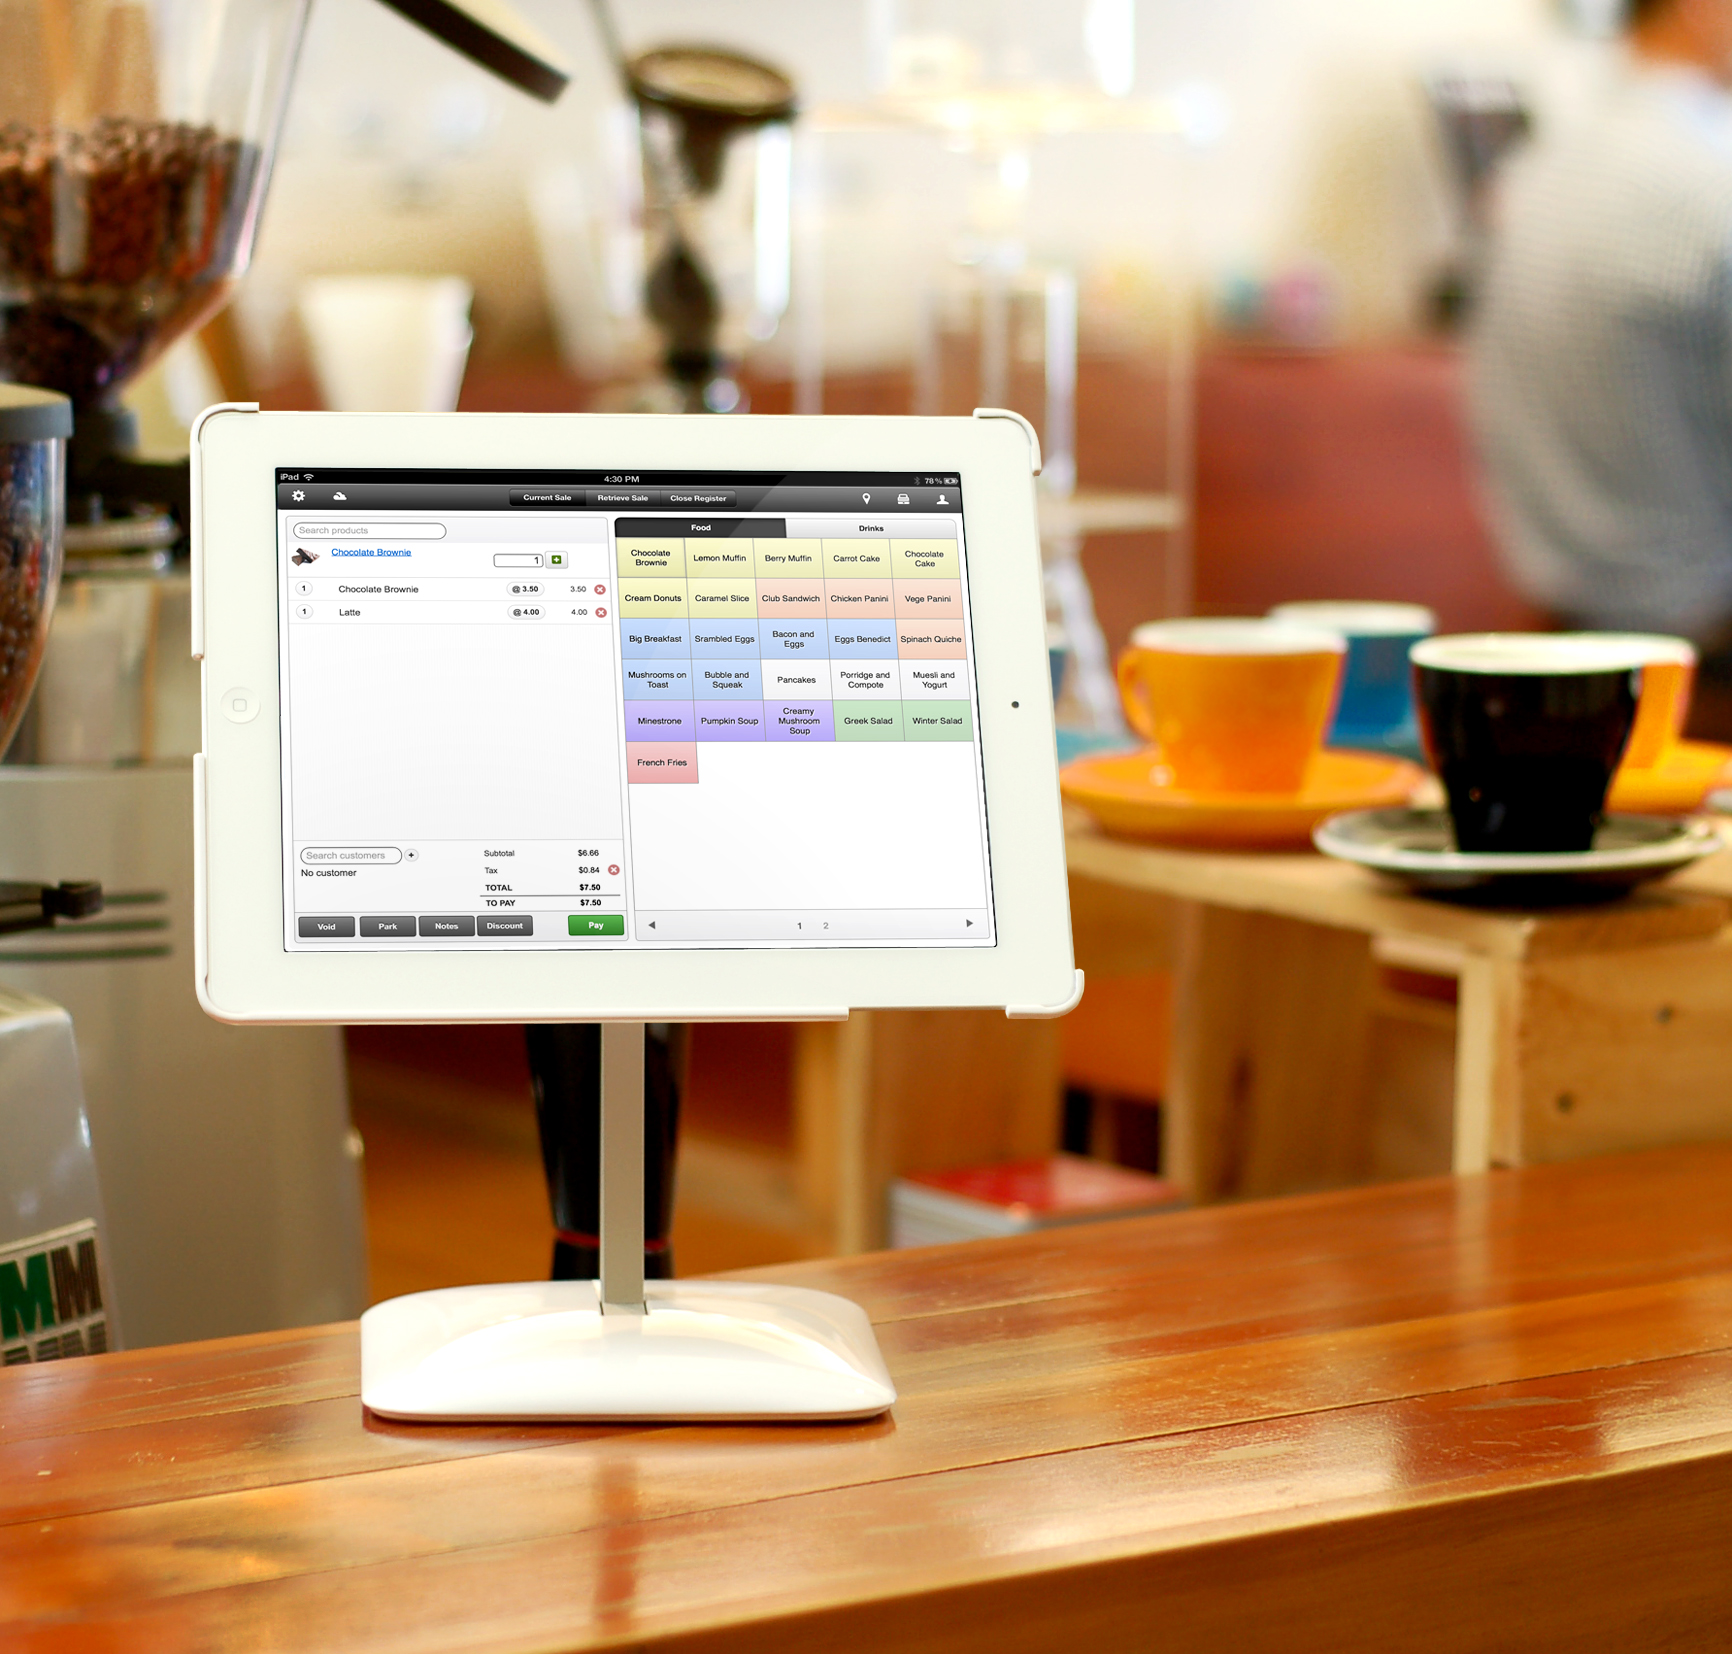
The Heckler Design: WindFall Stand Tall for iPad Air & iPad Pro 9.7″ Just arrived in Singapore! In Stock now! Designed with high-volume checkouts and future payment technologies...
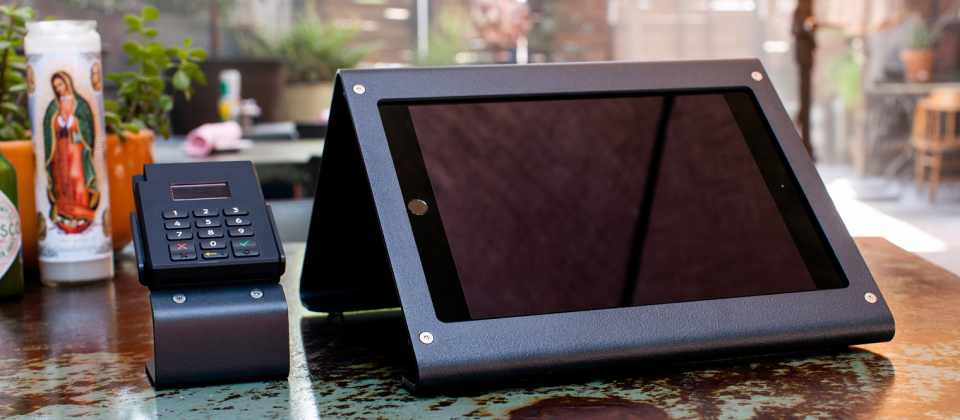
To buy: http://orderpaper.sg/products/windfall-duo-for-ipad-air-ipad-mini With a WindFall Duo, your checkout hardware now rests directly between you and your customer – transforming checkout into an enjoyable, shared experience. With an...
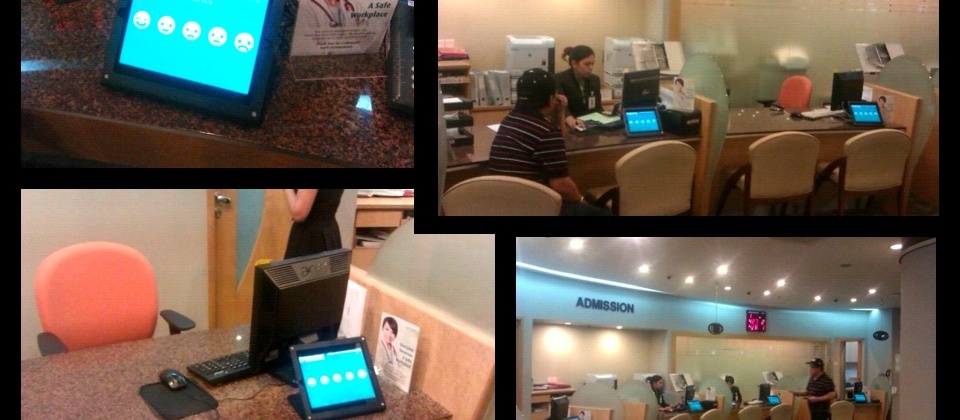
iPad/ Tablets are a great way to gather customer feedback. The Heckler Windfall stands can be secured easily, swivel between staff and customer. iPad touchscreen allows switching to your customer’s...
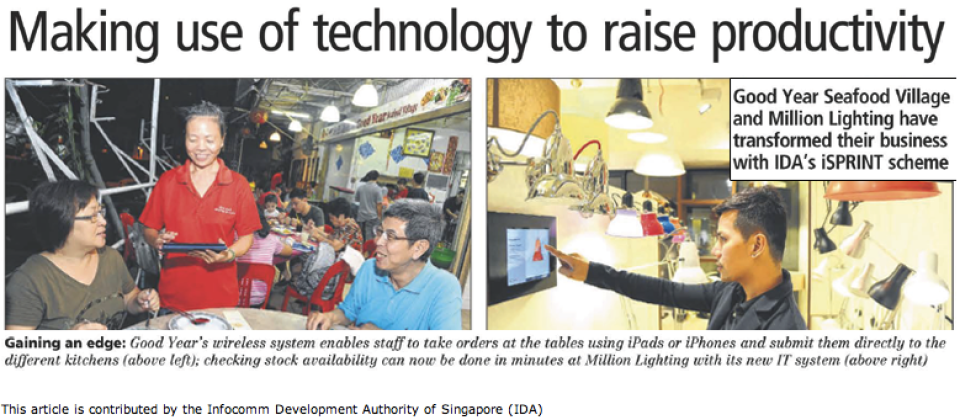
Located along a laid-back stretch of Tampines Avenue, Good Year Seafood Village becomes a bustling hive of activity during meal times, especially on weekends when the crowds descend...
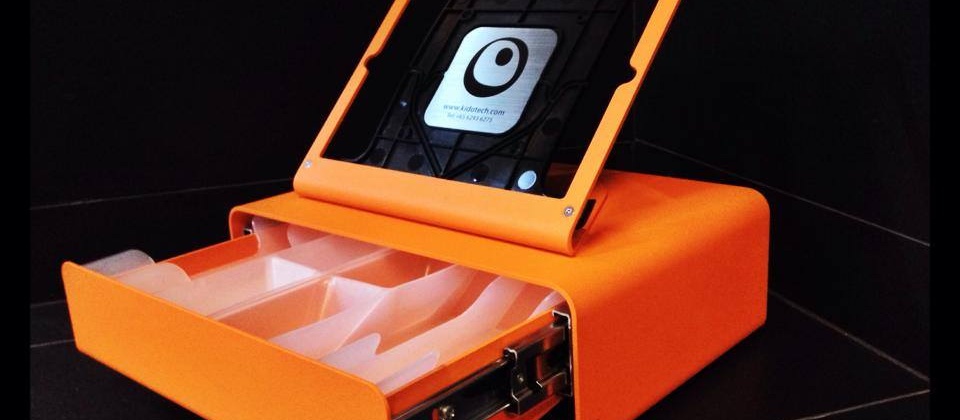
Our new shipment of Heckler Windfall iPad POS Stands have arrived in Singapore! Windfall Box Set is now available in Singapore. Limited quantities are available! Our POS customers do enjoy...
Hello, we are Kidotech, iPad POS experts. Looking for a new POS ?
Call Us (+65) 6293-6275. Please contact us for everything you need.
LATEST PROJECTS
Our POS deployments are found all over Singapore and the region.-
-

GoodYear Seafood Village (Zi Char)
May 9, 2014 5:12 am More
-
-
-
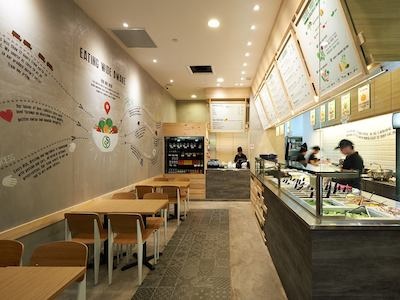
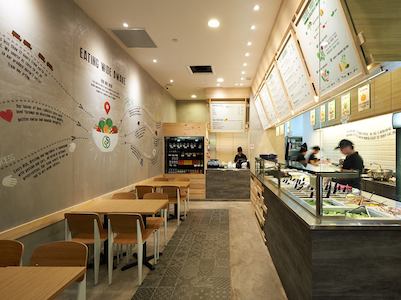
SaladStop! (Quick Serve/ Multi Outlets)
May 9, 2014 3:05 am More
-